BROWSE is a control a few complicated than others. However HMG-IDE successfully support it.
In this sample we will build a Browse based application in a few steps using HMG-IDE.
Step - 1 : Make a folder for this sample.
Step - 2 : Copy TEST.DBF and TEST.DBT from C:\hmg\SAMPLES\BROWSE_1 folder to your new folder.
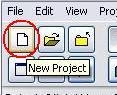
Step - 3 : Run HMG-IDE and chose "New Project".
IDE will ask you location and name for the new project; denote the folder you had build in the first step and give a name, say "IDEBrowse".
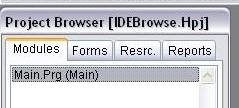
IDE will build a new main module named "Main.Prg" and a new main form named "Main.fmg"
Step - 4 :
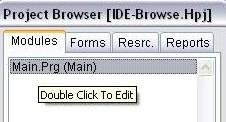
Double click "Main.prg" in the "Modules" tab of "Project Browser" window for editing this "main" module:
IDE send this module (.prg) file to your programing editor. If you don't had denote an editor by IDE's "Tools\Preference" page, default editor is Window's NotePad.
You will see your main program written by IDE :
#include <hmg.ch>
Function Main
Load Window Main
Main.Center
Main.Activate
Return
Step - 5 :
Since BROWSE is a table based control, we must have a table and files opening\/closing rutins; these aren't duties of IDE.
So add this two little procedures to the main.prg for opening and closing table:
Procedure OpenTables()
Use Test Shared
Return Nil
Procedure CloseTables()
Use
Return Nil
Step - 6 :
Now, it's time for making some arrangements on the form:
Title :
- Click "Object Inspector [Main.Fmg]\Form\Properties\Title" :
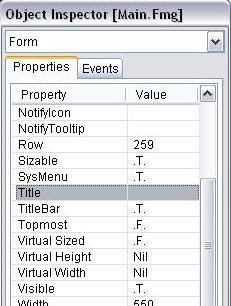
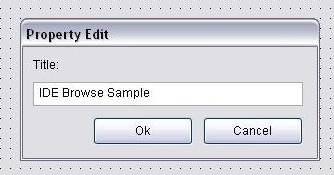
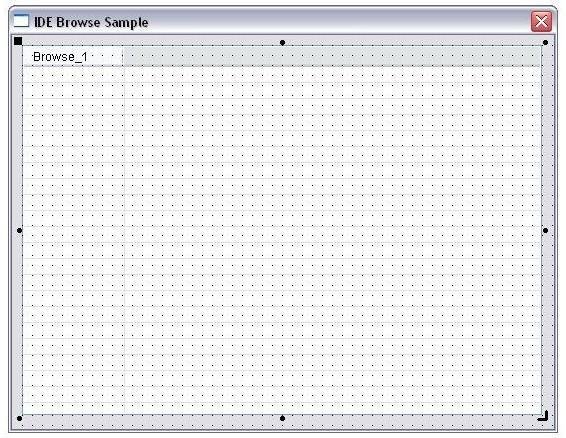
- Give a "Title", say "IDE Browse Sample" to form :
On Init Procedure :
- By clicking "Object Inspector [Main.Fmg]\Form\Events\OnInit" ;
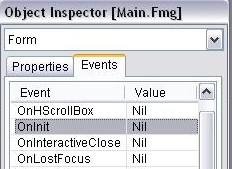
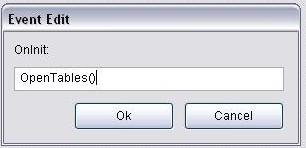
- Assign OpenTables() procedure name to this event:
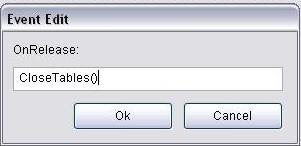
On Release Procedure :
- By clicking "Object Inspector [Main.Fmg]\Form\Events\OnRelease";
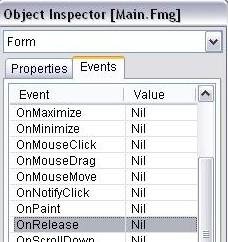
- Assign CloseTables() procedure name to this event:
Step - 7 :
Now, we can place BROWSE control in our form:
- Click BROWSE button in the Toolbox:
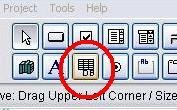
- Then click anywhere in the form :
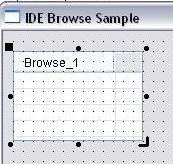
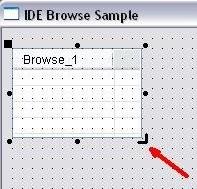
- Re-size control by dragging "resize" mark at the lower rigth corner :
- If required, change placement of control by using "replace" mark ( at the upper-left corner )
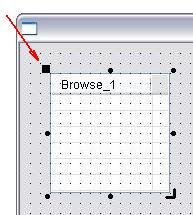
- By using these two marks, you can place control in the form whatever you like:
Step - 8 :
And now, we will make some arrangements on the BROWSE control :
After activating ( by clicking on it ) BROWSE control;
By selecting "Object Inspector[Main.Fmg]\Browse_1\Properties" give these properties to Browse_1 control:
- "Fields" property :
{'Test->Code','Test->First','Test->Last','Test->Birth','Test->Married','Test->Bio'}
- "Headers" property :
{ 'Code', 'First Name', 'Last Name', 'Birth Date', 'Married', 'Biography' }
"Widths" property :
{ 150, 150, 150, 150, 150, 150 }
"Work Area" property :
Test
Note that "array" properties requires open and close curly-braces ('{}'), character properties doesn't requires quotation marks ("").
If you want allow editing abilities to user, you have change default values (.F.) of these properties to .T.
ALLOWEDIT
ALLOWAPPEND
ALLOWDELETE
Last Step :
That is All !
Click "Run" button ( or select "Run" from Project menu or simply press F5 key) for see results :
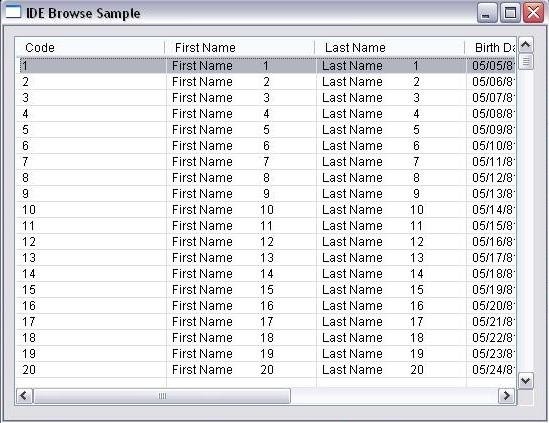
You have now a BROWSE based HMG application generated ( almost ) fully by IDE.
When you use "Run" command or attempt to closing your form by clicking "X" button, IDE ask you saving it ( if any change you have made ). You may also use File\Save Form menu command.
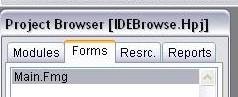
Since IDE is a "Two-Way Form Designer", you can edit .fmg files by double clicking its name in the "Forms" tab of "Project Browser" window.
And since .fmg files are pure HMG source code, you can open "main.fmg" by your editor for see form source code generated by IDE. Inspecting this code may be useful for better understanding and learning HMG.
You can also edit this file manually, but under your own risk ! Some modifications may not suitable to the standards of Form Designer.